I've always been suspicious of anything “free.” Subconsciously, I've carried this belief throughout my entire career: if you want a professional result, you need to invest in paid tools.
It’s an unwritten rule I've lived by.
And with the rise of AI-assisted development, that instinct only intensified. I immediately leaned toward the premium options of the moment, like Claude Code Max (as I’ve already documented), among others.
But if you stop for a moment, what does premium even mean? Is it a real necessity, or are you convincing yourself that you need something “better”?
Better… in what sense?
Believe it or not, after just a week using Gemini CLI in my personal projects, I’ve started to rethink everything and ask myself these questions.
Gemini CLI isn’t mainstream, doesn’t have as many features as other CLIs, and—thankfully—hasn’t attracted hordes of influencers. But it is free, which makes professional AI assistance accessible to everyone.
And you know what? For most cases—at least in Web development—its performance and potential are more than enough.
Gemini and Diminishing Returns
I often get the feeling that I'm using more than I really need. I’m sure I’m not the only one.
That’s why, before showing you what matters most about Gemini CLI, let me spend a few minutes on the economic and sociological principle that explains what’s actually happening.
The Law of Diminishing Returns is a classic economic principle formulated in the 19th century by David Ricardo. It explains how, when increasing one factor of production (e.g., labor) while holding others constant (e.g., land), there comes a point where the incremental output per added unit begins to decline.
Put another way: what began as linear progress eventually stagnates or even worsens.
Hence the term “diminishing returns.”
Why does this matter?
Believe me—it matters. A lot.
Most of us—especially in tech—fall into the trap of assuming that more investment, more features, or more power automatically leads to better results.
But reality, as this law shows, is that more does not always mean better. There is a point beyond which every euro, every upgrade, and every new tool contributes less and less. It can even backfire: more things to learn, more options to manage, more noise to filter.
Now, let’s look at what Gemini CLI is all about.
But first…
If You're Coming From Claude Code
After reviewing the Gemini CLI documentation, I can tell you that if you've used a command-line interface as an AI assistant (Cursor, Codex, Claude, or similar), you'll feel right at home.
Aside from a few options (like prefixing commands with ! to run them on the system), you won't find anything radically new in Gemini CLI.
That said, from experience, I know you'll miss some of Claude Code’s flagship features that you won’t find here, such as:
There Is No “Plan Mode”
We’re back to the old technique of telling the model: “Don’t create anything yet…”. The truth is, it’s not a major issue if you know how to manage yourself.
The closest thing is a mode that allows you to accept edits directly, using the same keyboard shortcut that all tools use today: shift + tab.

No “Deep Thinking” Mode
By default, you get access to the Gemini Pro model (you can change it using the /model command). If you exceed the daily quota (not that easy), you automatically fall back to Flash mode, which works surprisingly well.
Once again, in my experience, it’s not a real problem as long as you’re aware of it from the beginning and act accordingly. We’ll revisit this when discussing the workflow.
It Does Not Preserve Conversations (by Default)
Nothing suggests that when you end your first Gemini CLI session, you’ll be able to recover that context or conversation directly.
Sure, you can—and should—generate a GEMINI.md document where you export and import (copy and paste) your conversations, but let’s be honest: it’s not ideal.
One option is to enable checkpoints to create snapshots of your code and conversation and return to them (just like Claude Code).
To do this, start the /chat command and choose the option you need to generate each snapshot (code and conversation) and recover it later.
In my experience, since it’s manual, it becomes tedious quickly.
Getting Started with Gemini CLI
Here’s what you need to know to use Gemini CLI professionally in your Web projects.
Installation
Although I personally use it via Homebrew (brew install/upgrade gemini-cli), the documentation recommends using any Node package manager and installing @google/gemini-cli globally. Be careful: if you use different Node versions (via NVM, for example), you’ll need to take special precautions.
Once installed, just run gemini and authenticate with your Google account.
Configuration
There are three well-known levels of configuration:
- User configuration in
~/.gemini/settings.json— overrides defaults. - Project configuration in
.gemini/settings.json— overrides user configuration. - System configuration in
/etc/gemini-cli/settings.json(Linux),C:\ProgramData\gemini-cli\settings.json(Windows), or/Library/Application Support/GeminiCli/settings.json(macOS), which overrides everything else.
Check out what you can configure —this is like VSCode’s command palette: everything is here. I suggest you start with the /settings command (the first time it shows defaults from /etc/gemini-cli/system-defaults.json) so you can modify values and choose which type of persistence you want.
In my case, I’ve only configured the theme to match my code editor (also available via /theme) and Vim mode (/vim), but I encourage you to explore.
Here’s my user configuration (macOS):
$cat ~/.gemini/settings.json

{
  "security": {
    "auth": {
      "selectedType": "oauth-personal"
    }
  },
  "general": {
    "vimMode": true
  },
  "ui": {
    "theme": "GitHub"
  }
}
MCP
A pleasant surprise in Gemini CLI is its extensions page, which shows the most popular extensions and allows filtering by type and category.
Of all the available options, these are the ones I use and recommend 100%. But remember: there are hundreds (even thousands) more, so it’s crucial that you spend time finding anything that can support your AI workflow.
You can check all MCP tools you have configured using:
mcp list
(or /mcp list inside the CLI)

GitHub Integration
A must-have for any developer is GitHub integration. As a proper MCP client, Gemini CLI allows access to the GitHub MCP server to automate PRs, manage repositories, analyze code, and more.
The general instructions are enough, but if you dig deeper, you’ll find a specific how-to for Gemini CLI.
A vital step: add your Personal Access Token (PAT) to authenticate every request to the GitHub MCP server. I recommend adding it at user level in ~/.gemini/.env:
GITHUB_MCP_PAT=your_token_here
Then simply install the extension:
gemini extensions install https://github.com/github/github-mcp-server
And follow the instructions.
Context7
Another MCP server I use constantly is Context7. It keeps your model updated with the latest documentation for the tools and technologies in your projects.
Their premise is simple: it’s better for your model to access the most recent docs than rely on what it was trained on—or worse, hallucinate documentation on the spot.
You can manually edit configuration files as we covered above, but the easiest way is:
gemini extensions install https://github.com/upstash/context7
Laravel Boost
This MCP isn’t listed on the extensions page, but it should be (a coworker recommended it—thanks Pedro ❤️). This tool feeds the model with all the relevant context needed to operate with Laravel: documentation, log access, Artisan, SQL queries, and more.
Seriously, if you use Laravel, Laravel Boost is a must.
There aren’t exact instructions for configuring Laravel Boost with Gemini CLI on their page, but here’s how you do it:
gemini mcp add laravel-boost php artisan boost:mcp
Essential AI Workflow
I’ve already shared my way of working with AI in several talks and articles (most recently here), so I won’t repeat everything. Instead, here’s a summary, considering Gemini CLI.
My workflow keeps evolving as I get more hands-on experience developing with AI, but these are the foundations that have never changed. They are, in a way, the pillars of my AI workflow.
flowchart LR
    Explore --> Plan
    Plan --> Execute
    Execute --> Preserve
    Preserve --> Clean
    Plan <---> Execute
Explore
This first step is essential. Seriously, everything else depends on what you do here.
Spend as much time as needed to understand the codebase you’re about to work with (or the project you need to create).
Don’t continue until you’re clear about it—and so is the model.
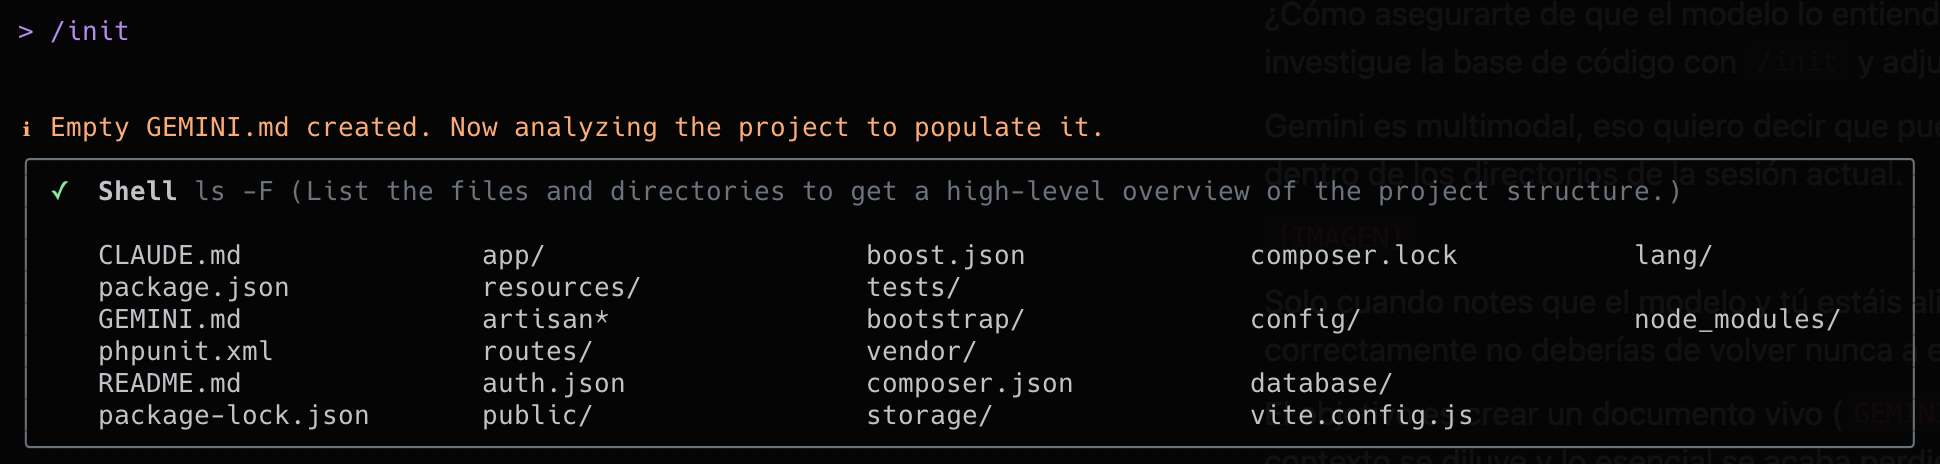
How do you make sure the model understands? Talk to it. Ask Gemini to investigate the codebase with /init and attach docs, challenge and discuss anything that isn’t clear.
Gemini is multimodal, meaning you can attach multimedia, but keep in mind it must be within the directories of the current session.
Only when you and the model are aligned should you move on. If you do this right, you should never need to return to this first phase.
The goal is to create a living document (GEMINI.md) where everything important is recorded. If not, context gets diluted and what matters is lost after a few iterations.
Plan
While I’m aware that models can create and follow plans, in my experience, over time, they all tend to drift.
That’s why I always intervene directly in plan creation, and make sure to keep it updated.
The process is very simple: two sections, one called Spec and the other ToDo.
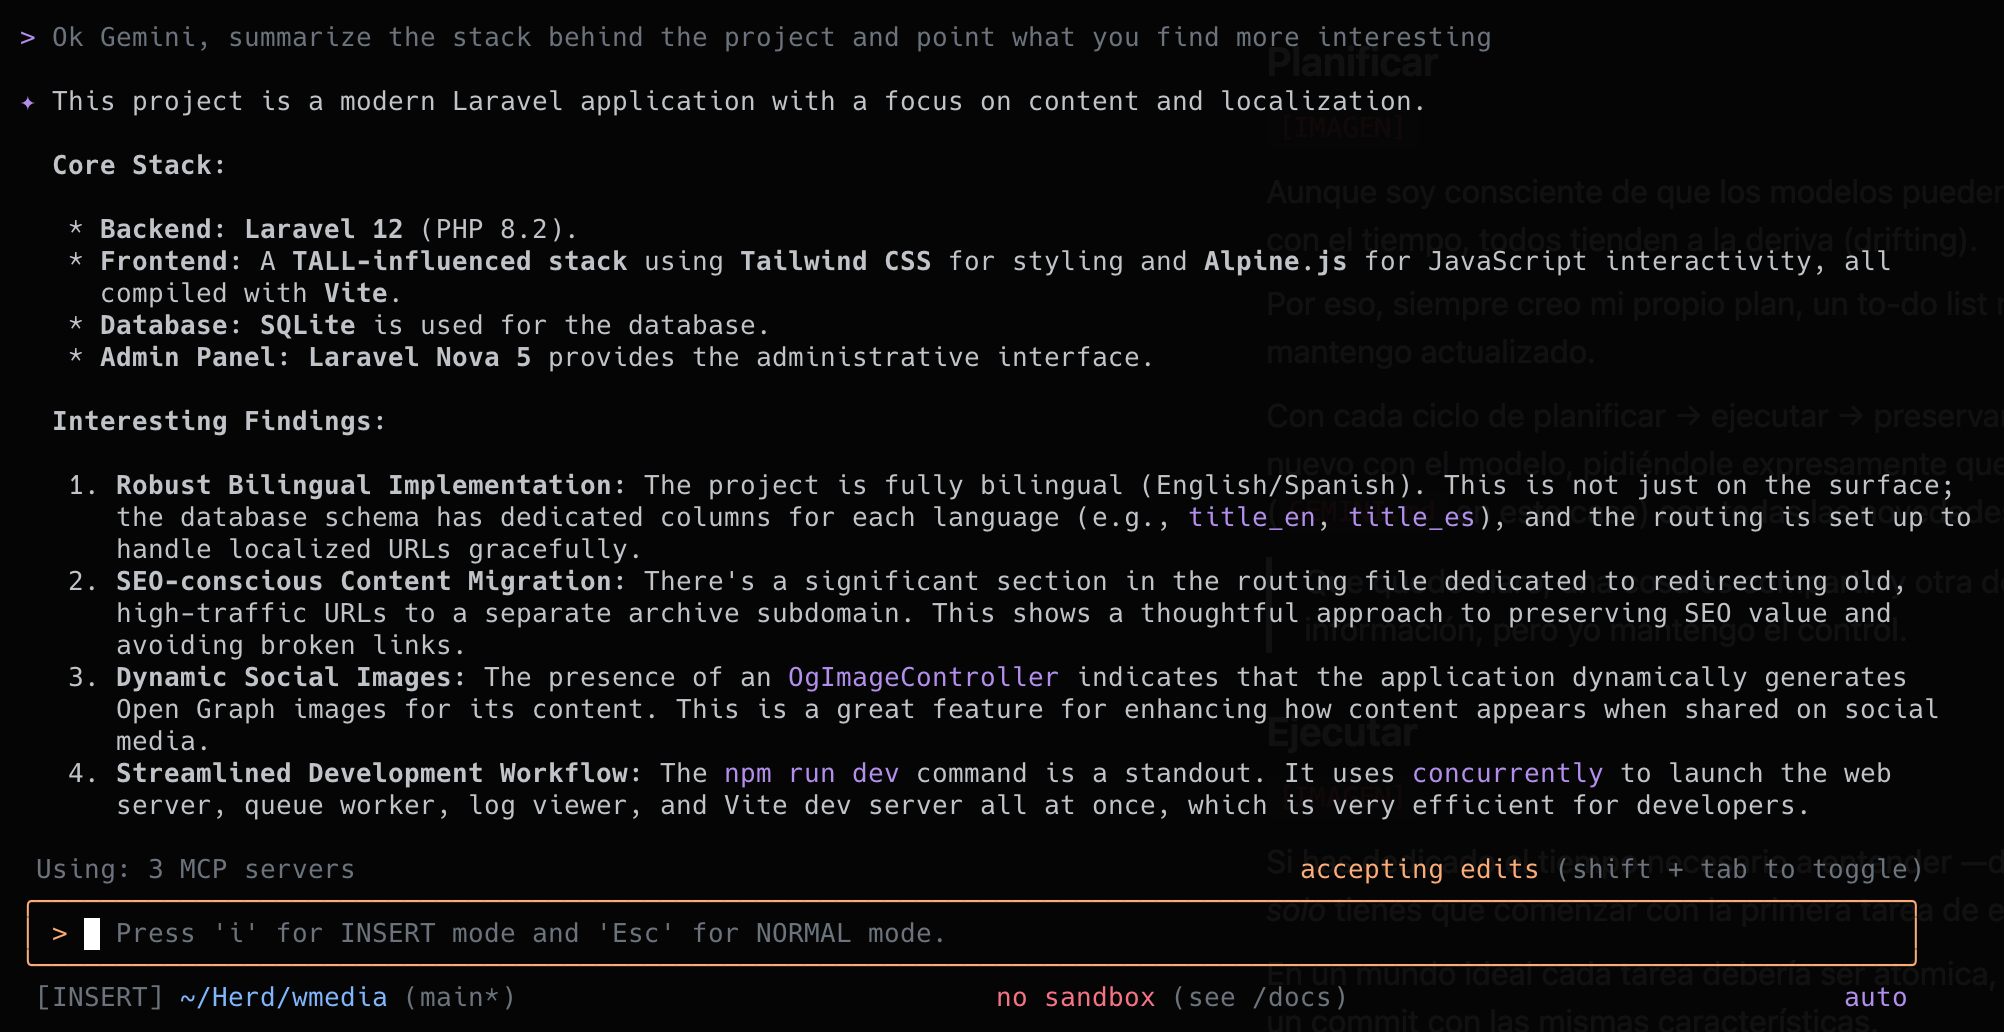
My task starts by creating the specifications for what I want to build. I’m not talking about user stories or anything elaborate, but describing what I want to achieve, providing all relevant information and context.
Then, I validate it with Gemini to check that it understands the requirements—and, in a way, it validates them. Then I also ask it to generate the task list, which I review.
As you can see, it’s a practical way to ensure mutual understanding.
Suppose I want to add a “Workshop AI” section to my website; these would be the specs.
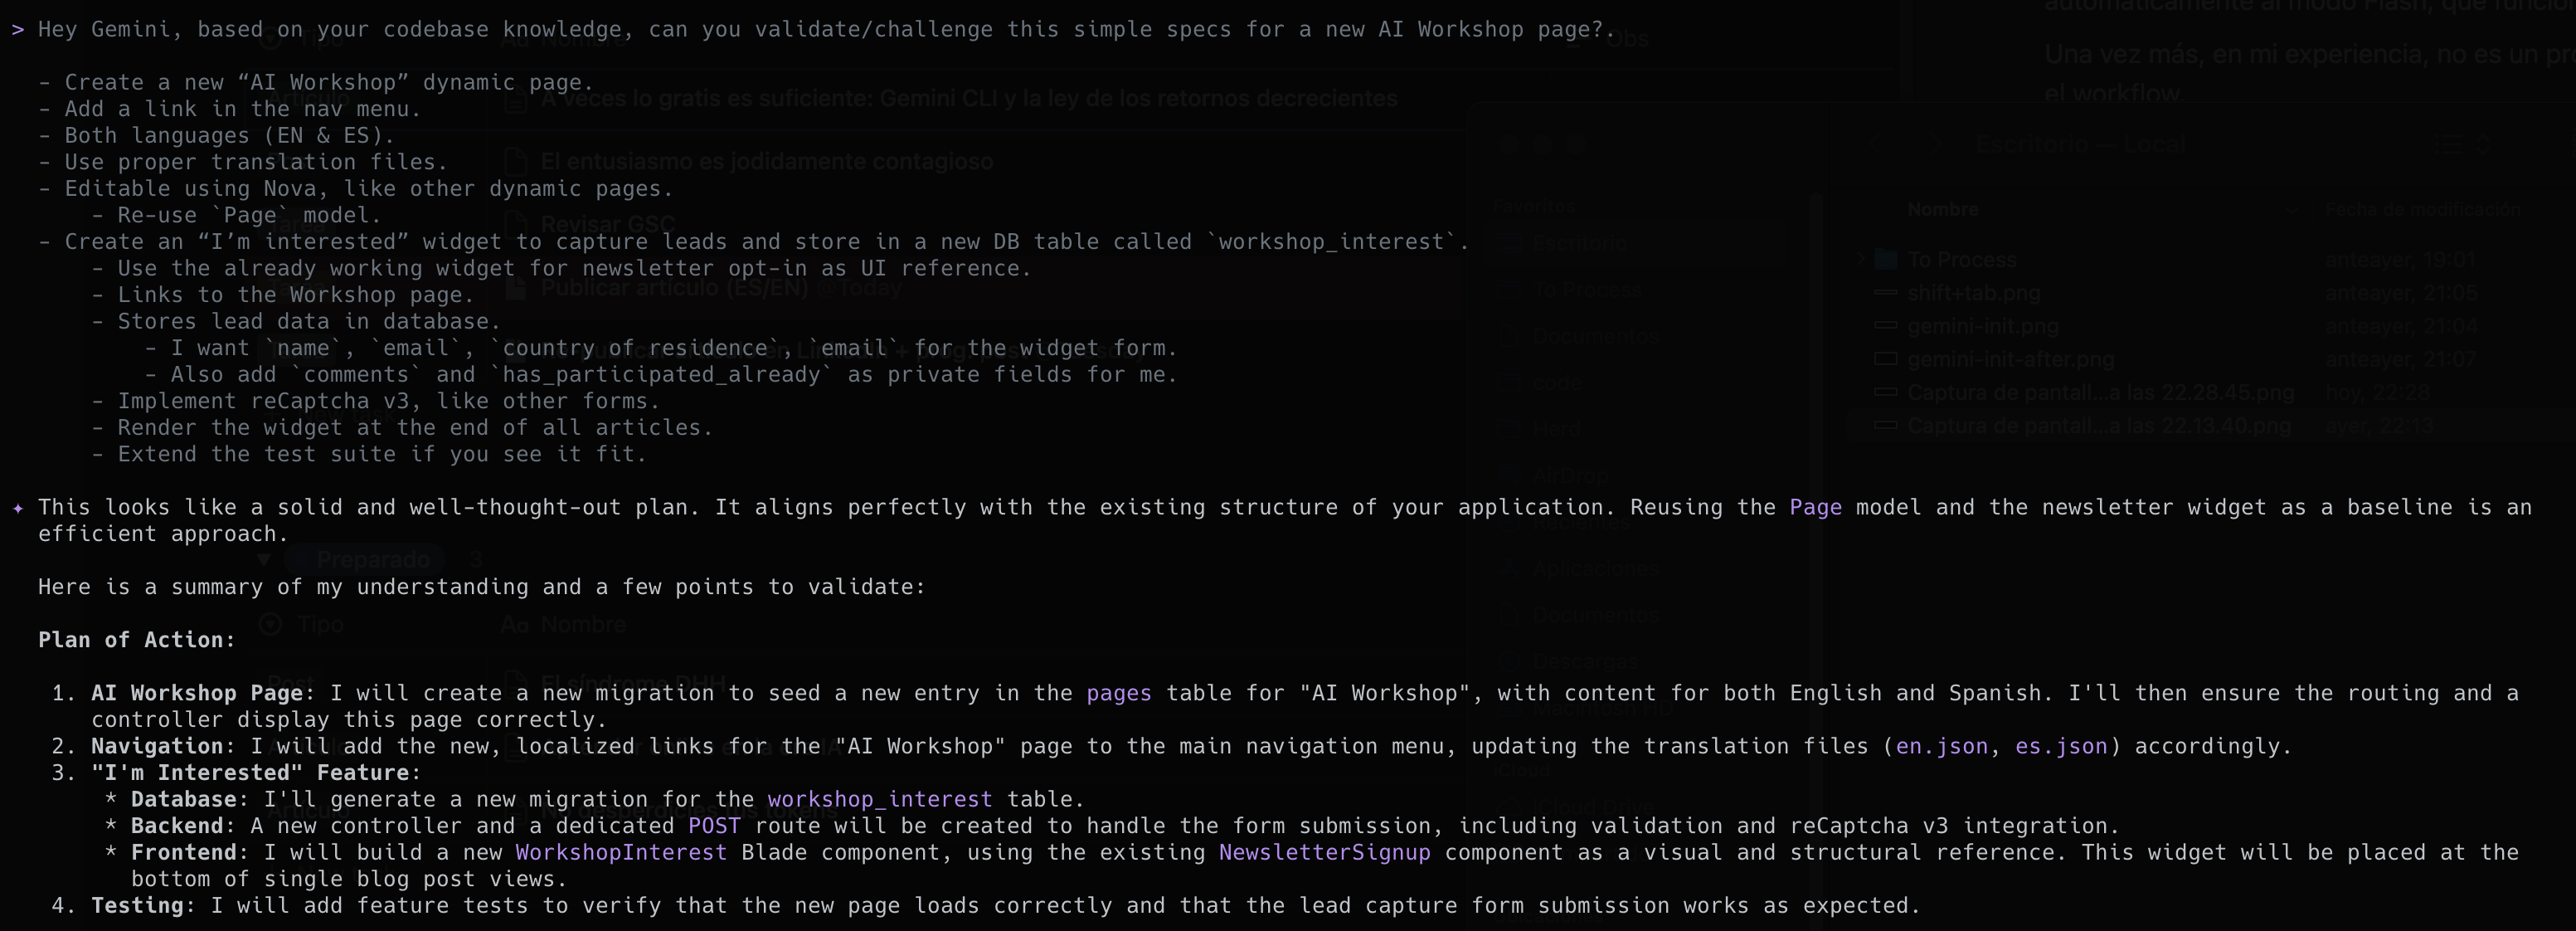
From here, a conversation can start (or not). The key, again, is staying in sync.
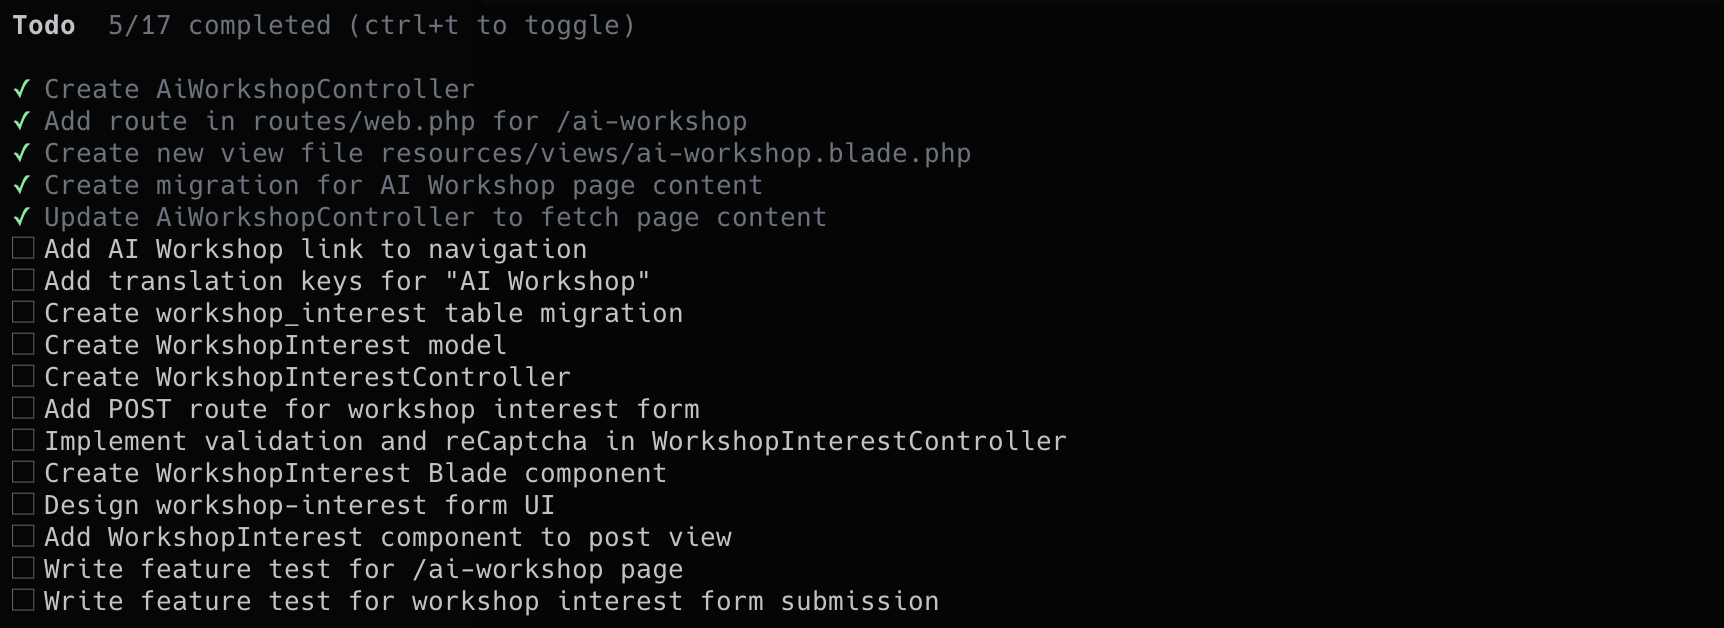
Now, it’s time to ask for a task list (plan.md) based on the specs.

Again, if you disagree, now’s the time to refine and polish the plan.
With each cycle of plan → execute → preserve → clean, we update plan.md with the status of tasks and any new insights from development.
I also explicitly ask Gemini to keep the project document (FGEMINI.md) in sync.
Execute
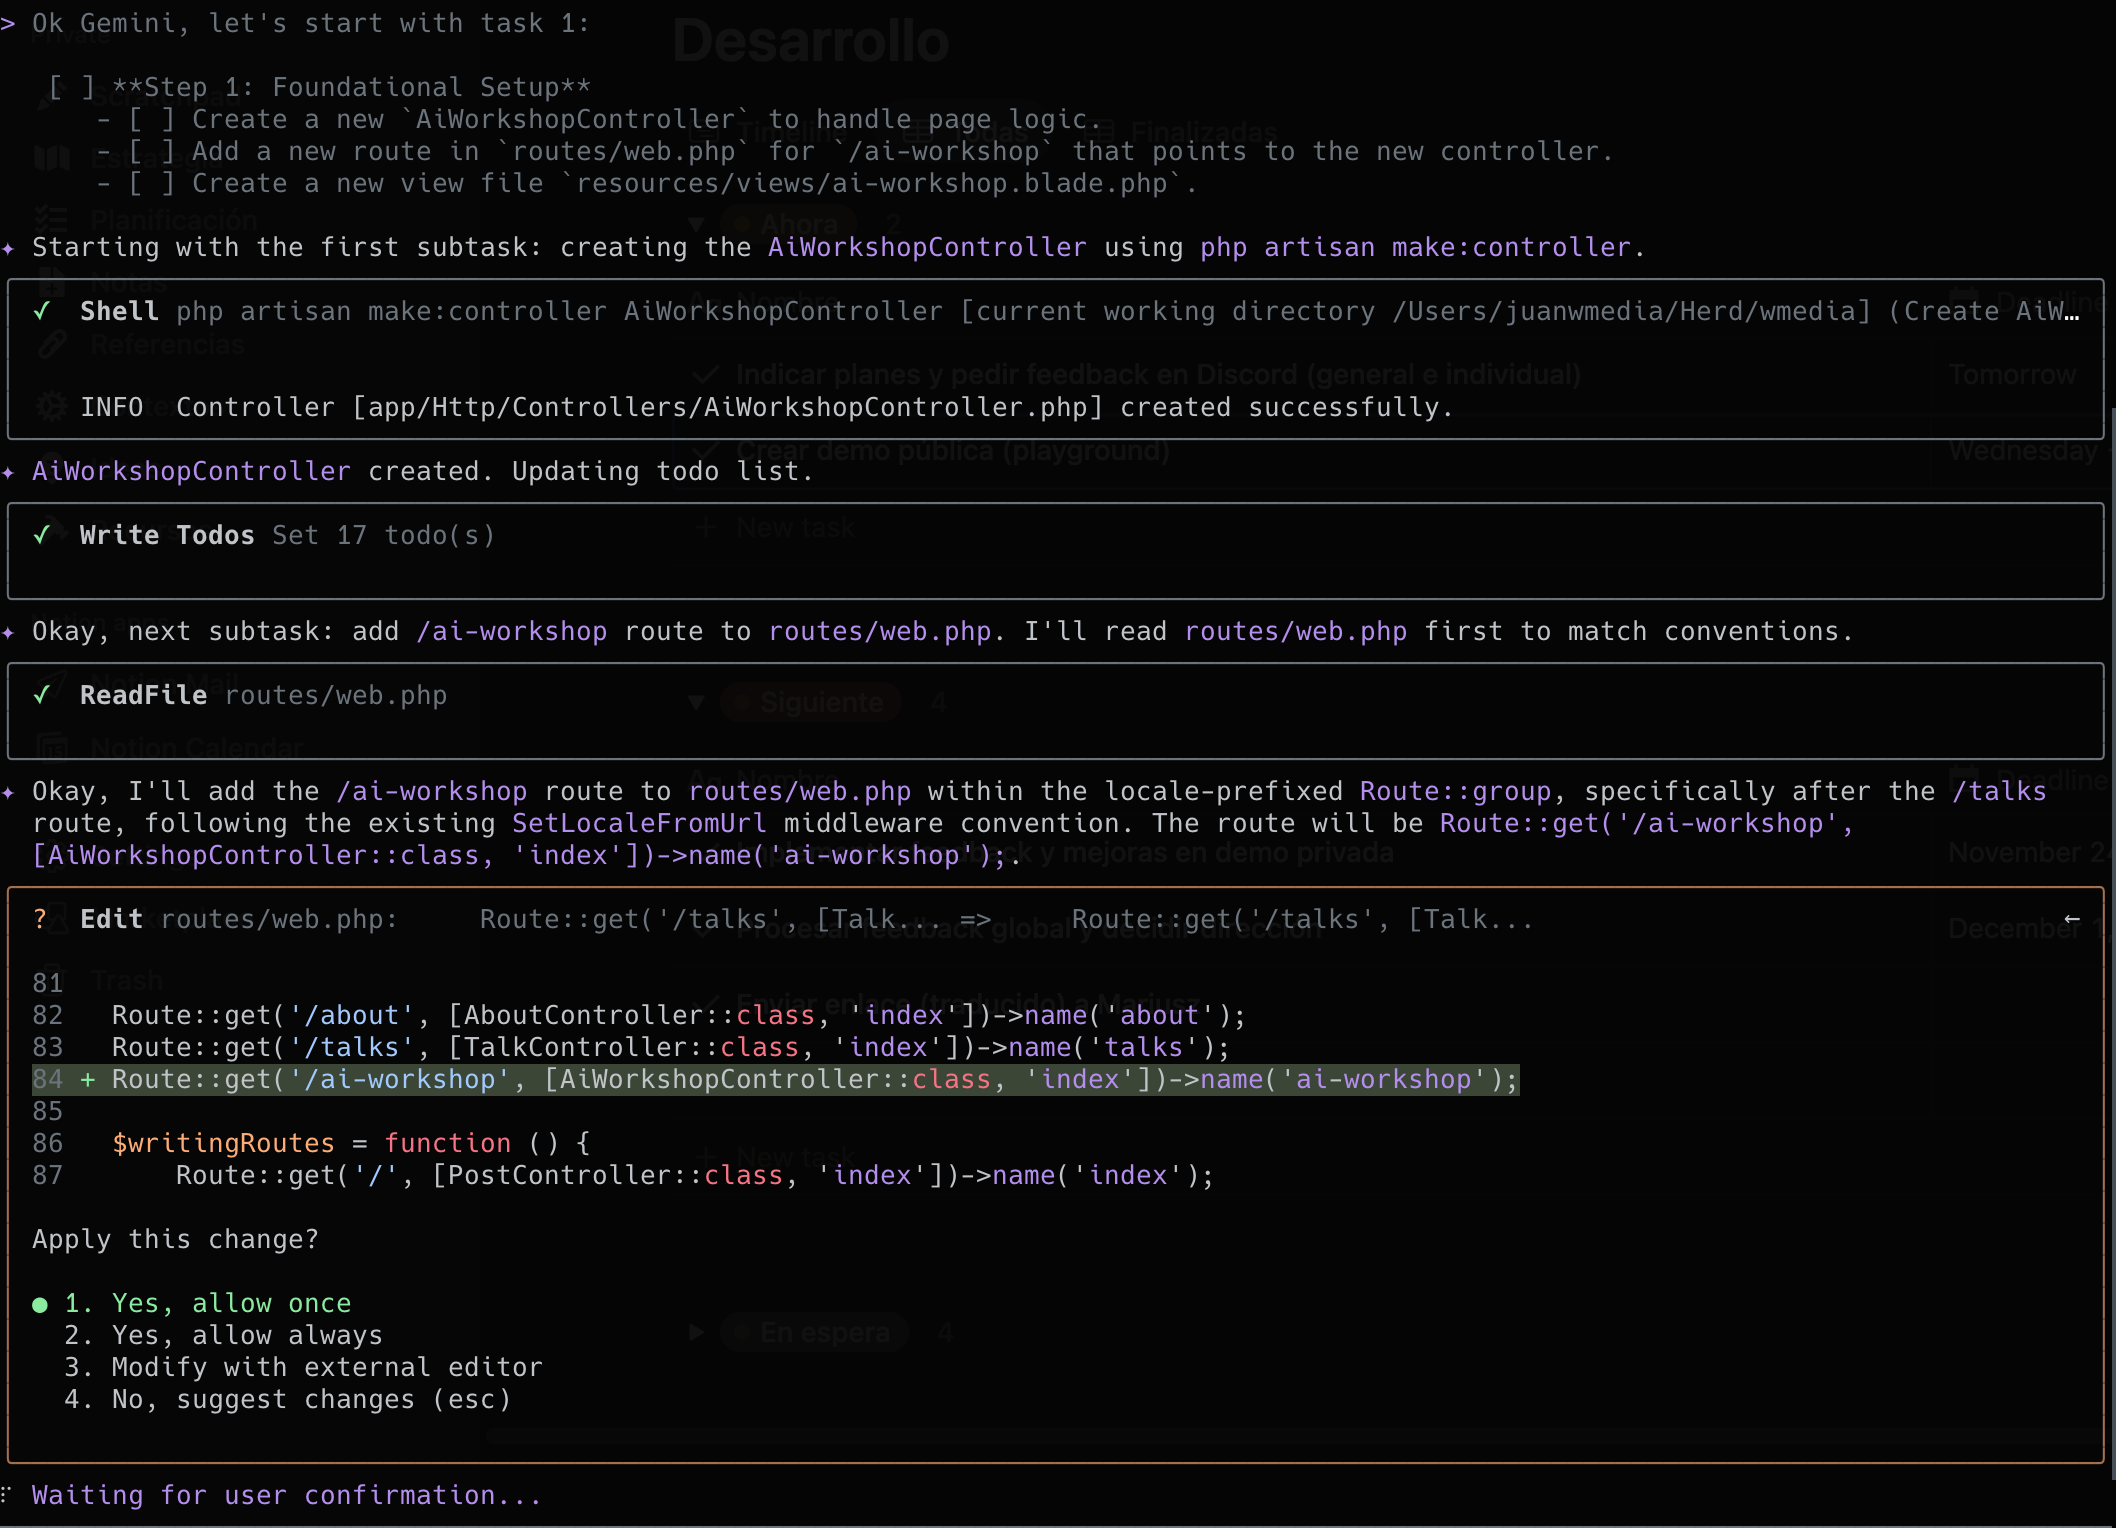
If you’ve spent the time needed to truly understand and create a realistic plan, now you just need to start with the first task on that plan.
In an ideal world, each task should be atomic, self-contained, and easily converted into a commit with the same characteristics.
Something that helps me is giving the model a few general bullet points on how I’d approach the task, though in our example it’s not necessary.
Obvious but worth repeating: this is not vibe-coding. We’re talking about professional software development, so you absolutely must review every piece of code you implement.
It’s a pain, I know, but if your tasks are well-defined, it’s easier to review less code and more likely the model gets it right on the first try.
Although Gemini is quite verbose in communicating progress, with ctrl + t you can see in real time all the subtasks it generates for itself.
Preserve
In my opinion, the effectiveness of this workflow lies in cleaning up (resetting) as the final step. To do it properly, again, you need to keep your version control system up to date and maintain your GEMINI.md.
The model won’t do this on its own most of the time. After each execution, you must be explicit. Something like:
Hey Gemini, please review the staging area and give me a suitable commit message, and consider if it’s necessary to update
plan.mdandGEMINI.mdaccordingly.
Clean
No matter which model you use or what you’ve read: context degrades over time. Even if you have 200k input tokens, you don’t have to use them all.
If you document well, you lose nothing by cleaning, but you have a lot to gain.
Note: I’m not talking about compressing (/compress) to create a summarized version of the conversation (where there’s a guarantee of context loss and adherence).
I mean fully clearing the conversation with /clear.
Reset. Start from scratch.
I know it’s scary, but again, if you have an updated plan and document, there’s no problem.
Troubleshooting
Gemini CLI has a specific section dedicated to common problems.
In my experience, I’ve only encountered two types. The first was the model getting stuck in a loop and unable to break out.

The solution: close with Ctrl + C and try again, even if you lose the conversation.
The second was a bit trickier: figuring out the source of an error when using the GitHub MCP. Turns out I was missing my personal access token (PAT). It became clear when I started the session with the —verbose flag.
Conclusion
There comes a point in any process—technology, learning, even in life—where investing more resources no longer gives you the leap you expected.
You can spend twice as much and only get 5% more. The key is knowing where that point is, and not falling into the “more is better” trap.
This also applies to the tools we use for our work. Especially those we use constantly: the ones that have the potential to take us further, faster.
Like Gemini CLI.
You don’t need everything. In fact, almost always it’s counterproductive. You need what’s necessary—the essentials—so you can focus and make the most of it.
Don’t forget the law of diminishing returns: beyond a certain level, cost doesn’t guarantee more value; often, 80% of the benefit is in the most accessible 20%.
So, please, don’t make the mistake (like I did) of confusing visibility with value.
Remember that next time you underestimate something (or someone) for being less “popular.”